
📋 Migration Checklist at a Glance
⏱️ Active work: 2-6 hours | DNS propagation: 24-48 hours | Monitoring: 2-4 weeks
Reasons to Migrate Your Website
Website migration isn't something you do casually—but when the time is right, moving to a better host can dramatically improve performance, reduce costs, and unlock features your current provider lacks.
Better Performance
Faster TTFB, SSD/NVMe storage, HTTP/3, and edge caching can cut load times by 40-60%.
Security Upgrades
Moving to a host with WAF, malware scanning, DDoS protection, and automatic patching.
Scalability Needs
Outgrowing shared hosting? VPS or cloud hosting handles traffic spikes without crashing.
Pre-Migration: Audit & Benchmark
Before touching anything, document your current state. This baseline lets you verify nothing broke after migration and catch SEO issues immediately.
Crawl your entire site
Use Screaming Frog (free up to 500 URLs) to map every URL, redirect, canonical tag, and meta tag. Export the crawl as your reference document.
Benchmark current performance
Run Google PageSpeed Insights and GTmetrix on your 5 most important pages. Screenshot the results—you'll compare after migration.
Export Google Search Console data
Download your Performance report (queries, pages, CTR, positions) for the last 3 months. This is your SEO baseline.
Document server configurations
Note PHP version, MySQL version, .htaccess rules, cron jobs, custom server configs, and any environment variables.
Inventory third-party integrations
List all APIs, payment gateways, CDN settings, email services, and DNS records (MX, CNAME, TXT) that need recreation.
Check current SSL certificate details
Note the SSL provider, type (DV/OV/EV), and expiry date. You'll need to reinstall or issue a new cert on the new host.
Choose Your New Host
Pick a host that addresses the specific pain points driving your migration. Here are our top recommendations by use case:
| Use Case | Best Host | Price | Free Migration? |
|---|---|---|---|
| WordPress blogs | SiteGround | $2.99/mo | ✅ Yes (1 site) |
| High traffic sites | Cloudways | $14/mo | ✅ Yes (unlimited) |
| E-commerce | Kinsta | $35/mo | ✅ Yes (all plans) |
| Budget migration | Hostinger | $2.99/mo | ✅ Yes (1 site) |
| Agency (multi-site) | Cloudways | $14/mo | ✅ Yes (unlimited) |
| Developer/VPS | DigitalOcean | $6/mo | ❌ Manual |
Create a Full Site Backup
This is the most critical step. A verified backup is your safety net—if migration fails, you can restore your site in minutes.
Critical: Verify Your Backup
Never assume a backup works until you've tested restoring it. Download your backup locally and verify it contains all files, database tables, and media. A corrupt or incomplete backup discovered mid-migration is a disaster.
Database Backup
Export via phpMyAdmin (SQL dump) or WP-CLI: wp db export. For large databases (>1GB), use mysqldump via SSH for faster exports.
Files Backup
Download all files via SFTP (FileZilla) or cPanel File Manager. Include wp-content (themes, plugins, uploads), .htaccess, and wp-config.php.
Email Backup
If using hosting-based email, export all mailboxes. Migration to a new host won't automatically transfer email data.
DNS Records Backup
Screenshot or export all DNS records (A, CNAME, MX, TXT, SPF, DKIM). You'll need to recreate these on the new host or DNS provider.
🔧 Backup Tools Comparison
| Tool | Type | Max Size | Best For |
|---|---|---|---|
| All-in-One WP Migration | Plugin | 512MB (free) | Simple WordPress sites |
| Duplicator Pro | Plugin | Unlimited | Large sites, multisite |
| UpdraftPlus | Plugin | Unlimited | Scheduled cloud backups |
| cPanel Backup | Built-in | Unlimited | Full account migration |
| WP-CLI + mysqldump | CLI | Unlimited | Developers, large DBs |
Set Up the New Server
Before transferring your site, prepare the new hosting environment to match or improve your current setup:
Transfer Files & Database
📁 File Transfer Methods
SFTP (recommended)
Use FileZilla to download from old host and upload to new. Preserves file permissions. Best for sites under 5GB.
SSH + rsync (fastest)
Server-to-server transfer: rsync -avz user@oldserver:/path/ /new/path/. Best for large sites (10GB+).
Migration Plugin
All-in-One WP Migration or Duplicator packages everything into one downloadable archive. Easiest for beginners.
🗄️ Database Transfer
1. Export from old host
phpMyAdmin → Select database → Export → Quick → SQL format → Go. Download the .sql file.
2. Create new database
On the new host, create a database + user with full privileges via cPanel or hosting panel.
3. Import on new host
phpMyAdmin → Select new database → Import → Choose .sql file → Go. Update wp-config.php with new DB credentials.
💡 Pro Tip: Test Before DNS Switch
Most hosts provide a temporary URL (e.g., server123.hostingprovider.com/~youraccount) or you can edit your local hosts file to preview your site on the new server before changing DNS. This lets you verify everything works without any public-facing risk.
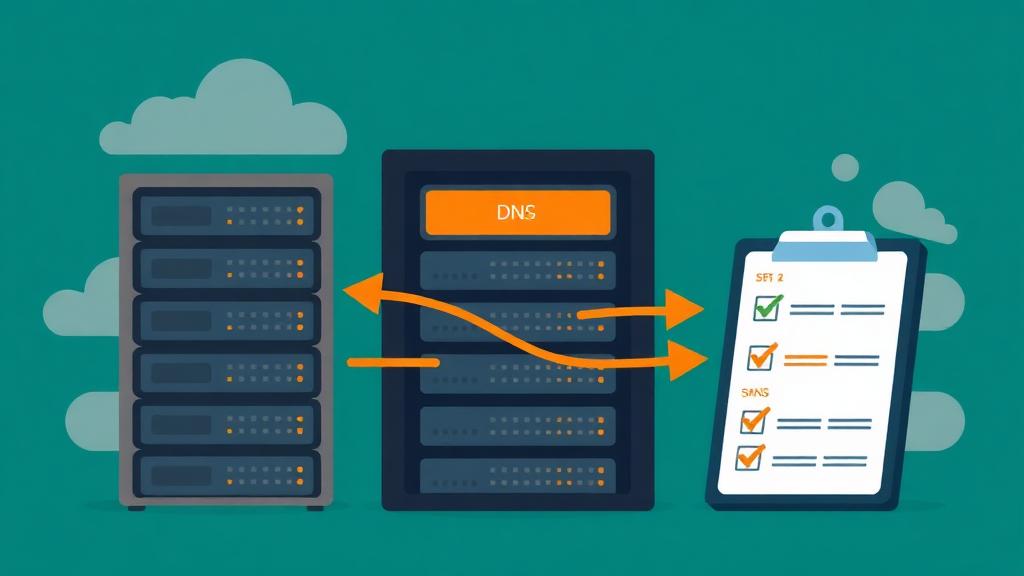
Update DNS Records
DNS changes are how you "flip the switch" from old host to new. Here's what to update:
| Record Type | What to Change | Propagation |
|---|---|---|
| A Record | Point to new server's IP address | 24-48 hours |
| CNAME (www) | Point www subdomain to new host | 24-48 hours |
| MX Records | Recreate if email provider changed | 24-48 hours |
| TXT Records | SPF, DKIM, DMARC for email auth | 24-48 hours |
| Nameservers | Alternative: point NS to new host entirely | 24-48 hours |
Reinstall SSL & Force HTTPS
Your SSL certificate does not transfer between hosts. You need to install a new one on the new server:
SEO Preservation Checklist
This is where most migrations go wrong. Follow every step to protect your search rankings:
Verify every URL on the new host matches the old host exactly. Even a trailing slash difference can cause issues.
If any URLs changed, set up 301 redirects from old URLs to new ones. Use Redirection plugin or .htaccess rules.
Check that canonical tags point to the correct URLs. Screaming Frog can audit these in bulk.
Verify your sitemap is accessible (yourdomain.com/sitemap.xml) and contains all pages with correct URLs.
Ensure robots.txt isn't blocking Googlebot. Check that it's not set to 'Disallow: /' (common staging mistake).
Add the new server in Search Console. If you changed hosting (not domain), no action needed—just resubmit sitemap.
Run a broken link checker to ensure all internal links resolve correctly. Fix any 404s immediately.
Verify JSON-LD schemas still render correctly. Use Google's Rich Results Test on key pages.
Compare PageSpeed scores against your pre-migration benchmarks. Performance should be equal or better.
Verify tracking code is firing on all pages. Check real-time reports to confirm data is flowing.
Post-Migration Testing
After DNS has propagated and your site is live on the new host, run through this testing checklist:
Functionality Tests
- All pages load correctly
- Contact forms submit & deliver
- E-commerce checkout works
- Search functionality works
- Login/registration flows work
- Media files (images, videos) display
SEO Verification
- Google can crawl & index pages
- Sitemap is accessible
- Robots.txt is correct
- No noindex tags on live pages
- Canonical URLs are correct
- Structured data validates
Security Checks
- SSL shows green padlock
- No mixed content warnings
- HTTP → HTTPS redirects work
- www ↔ non-www redirects work
- Admin login is secure
- File permissions are correct
Performance Checks
- PageSpeed score ≥ old score
- TTFB under 600ms
- Core Web Vitals pass
- CDN is active
- Caching is working
- Database queries are fast
Common Migration Mistakes
❌ Not backing up before migration
✅ Always create and verify a full backup before starting. Keep it for at least 30 days after migration.
❌ Migrating during peak traffic hours
✅ Schedule migration for low-traffic periods (Tuesday-Wednesday, early morning). Never migrate on Fridays.
❌ Forgetting to update wp-config.php
✅ Database name, username, password, and host must match the new server's credentials.
❌ Leaving robots.txt in 'Disallow: /' mode
✅ Staging/development sites often block crawlers. Verify robots.txt allows Googlebot after going live.
❌ Not testing emails after migration
✅ MX records, SPF, and DKIM need manual reconfiguration. Send test emails to verify delivery.
❌ Canceling old hosting immediately
✅ Keep the old host active for 2-4 weeks as a rollback safety net during the monitoring period.
Migration Tools Comparison
| Tool | Price | Ease | Max Site Size | Best For |
|---|---|---|---|---|
| All-in-One WP Migration | Free / $69 | ⭐⭐⭐⭐⭐ | 512MB / Unlimited | Beginners |
| Duplicator Pro | $49.50/yr | ⭐⭐⭐⭐ | Unlimited | Large sites |
| UpdraftPlus Premium | $70/yr | ⭐⭐⭐⭐ | Unlimited | Backup + migrate |
| Migrate Guru | Free | ⭐⭐⭐⭐⭐ | 200GB | Server-to-server |
| WP-CLI + rsync | Free | ⭐⭐ | Unlimited | Developers |
| Host's free migration | Free | ⭐⭐⭐⭐⭐ | Any | Hassle-free |
Frequently Asked Questions
Will migrating my website hurt my Google rankings?
How long does a website migration take?
Should I cancel my old hosting immediately after migration?
Can I migrate my site without technical knowledge?
What's the difference between a server migration and a domain migration?
Ready to Migrate?
Find the perfect host to migrate to—one that offers free migration, better speed, and the features you've been missing.
Find Your New Host